
Mountaineering Boots for Peaks up to 7000m – Double Boots
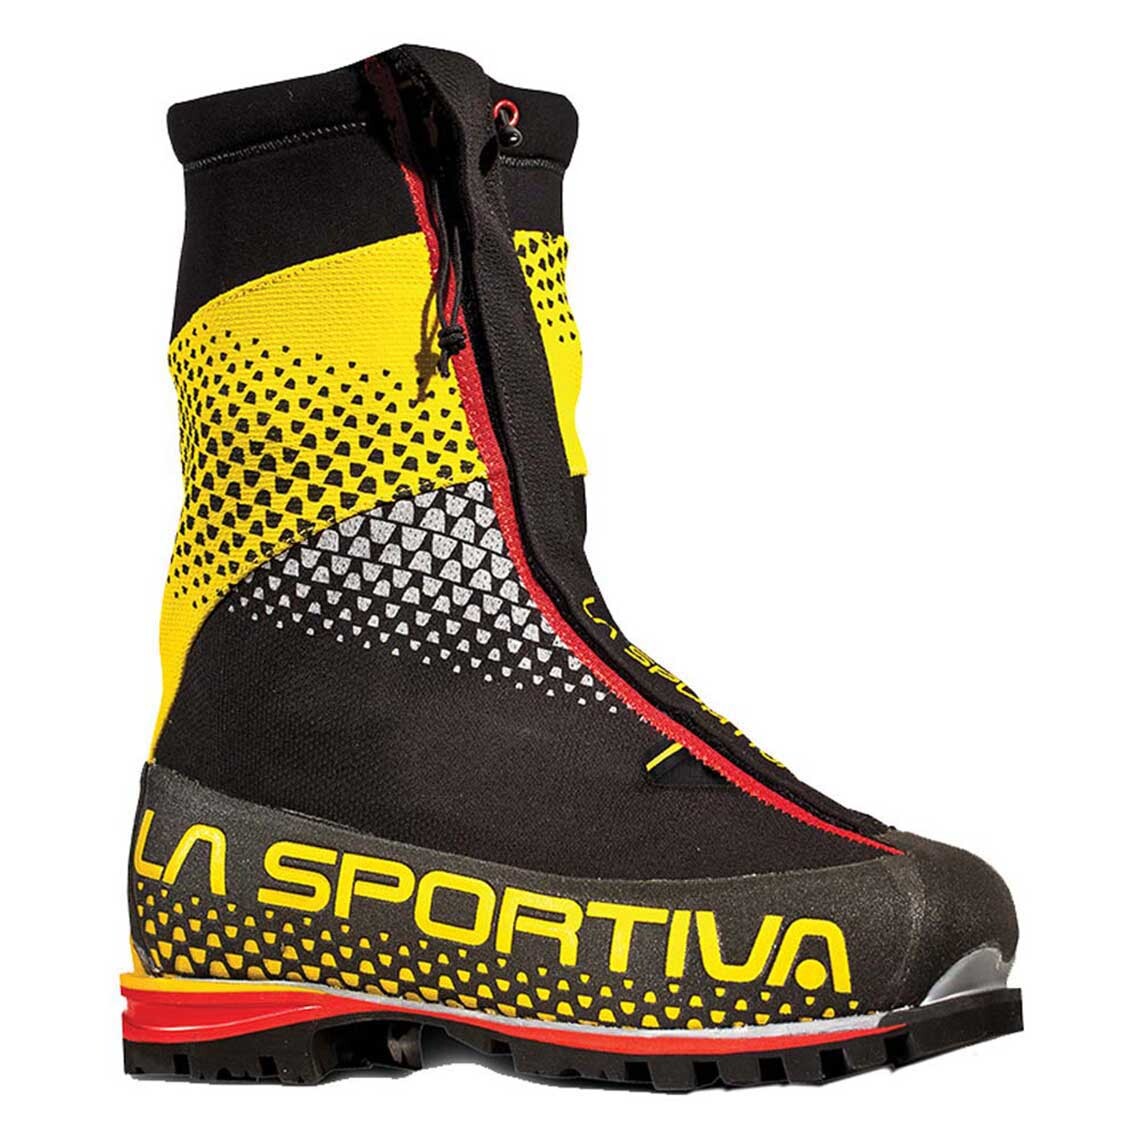
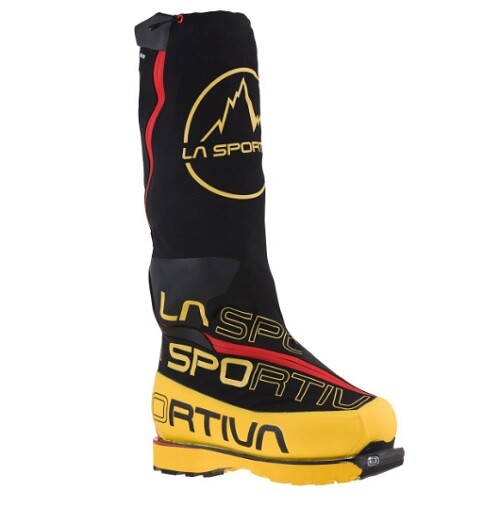
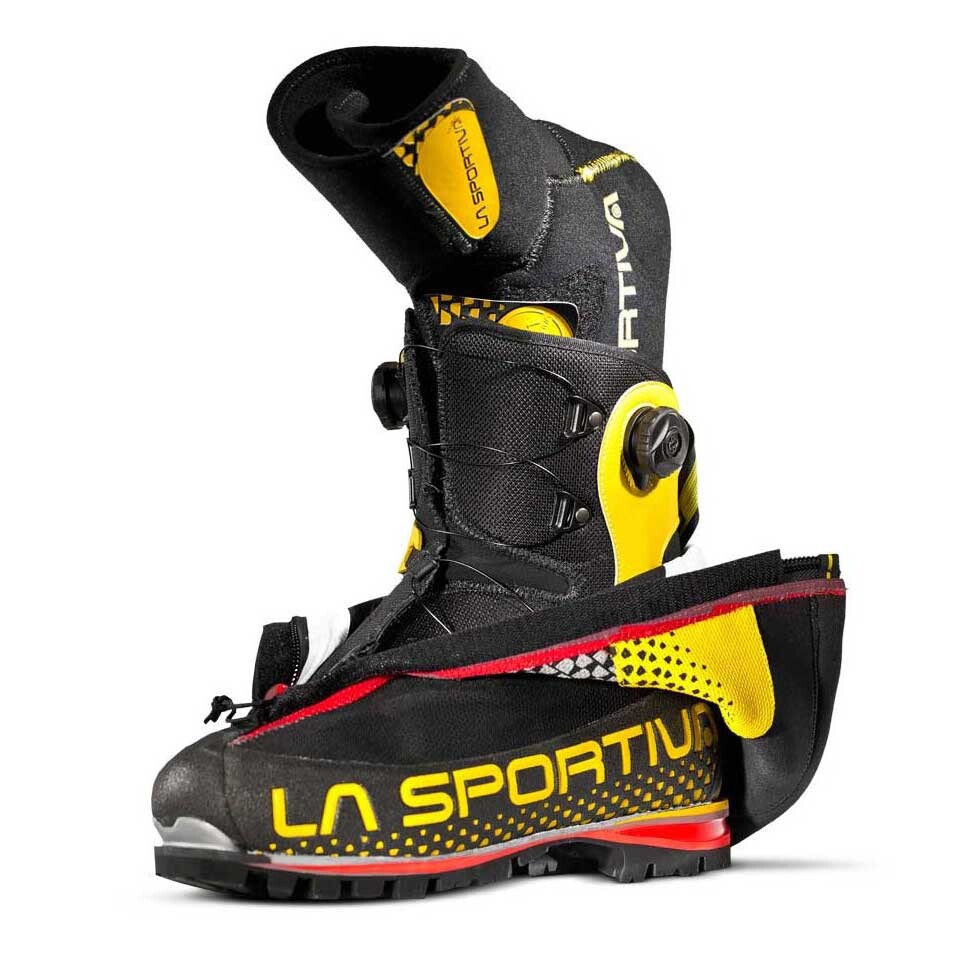
A Double Boot consists of an inner thermal boot that fits around your foot and is either laced up or tightened around your foot with a modern BOA system. It is then inserted into the outer boot consisting of the sole unit and gaiter. These boots are used on extended high-altitude mountaineering expeditions on glaciated peaks for additional warmth. The inner can easily be taken out to dry at night within your sleeping bag or in the sun during rest days!
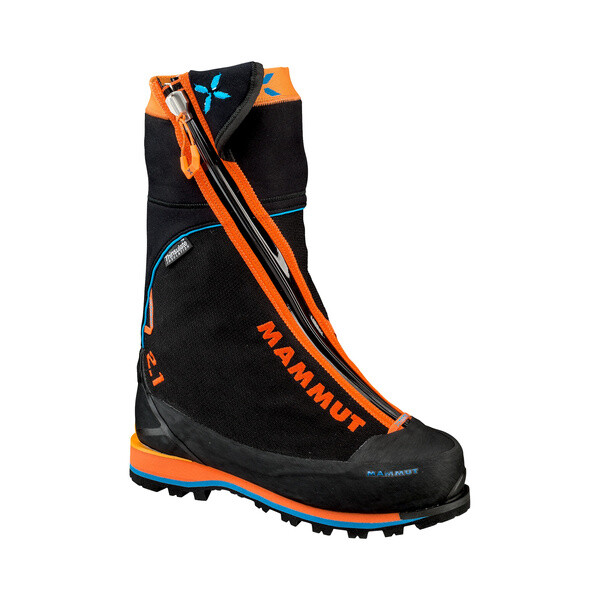
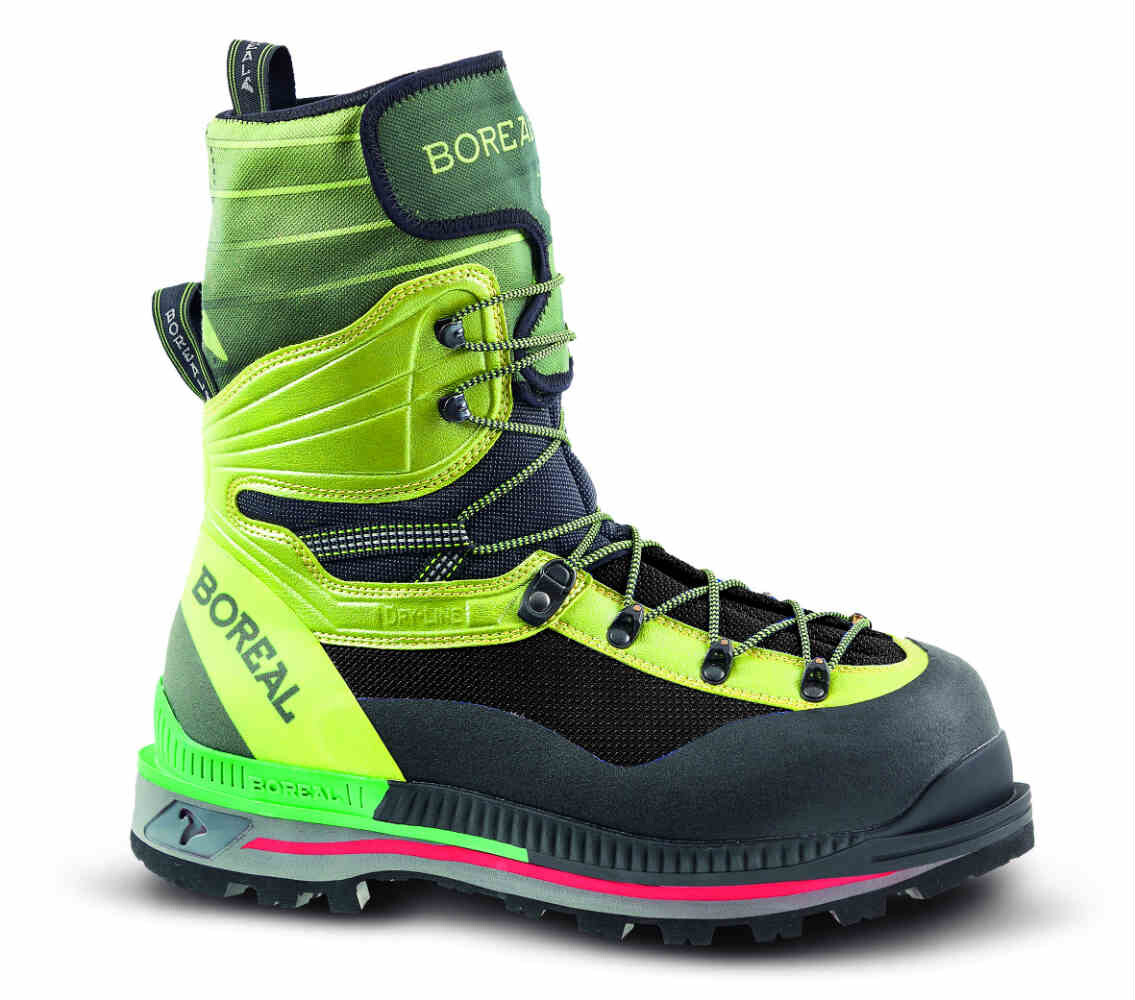
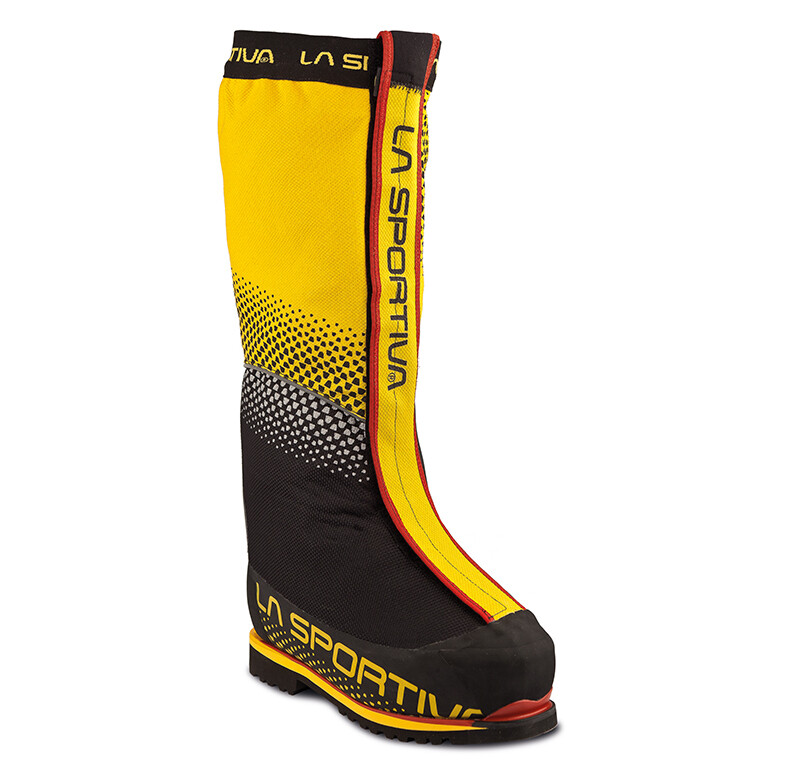
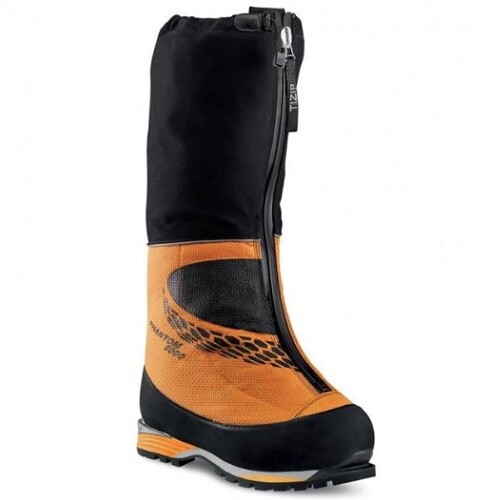
The Sportiva G2 is the lightest, warmest and most sophisticated with a very efficient BOA system that allows the boots to tighten snuggly around your foot, but at a premium price. The Boreal G1 is a heavier and more basic boot but is very good value for money and forms the backbone of our hire stock, this boot requires a gaiter. The Mammut Norwand falls between the two and is the widest fit.
There are no specific women’s fit 7000 metre boots.
Adventure Peaks stocks the widest range of High-Altitude boots anywhere in the UK, we are the only place you can try on multiple types of double and triple boots and compare the fit under one roof. We are the altitude experts!
Here are the options for a mountaineering boot for 7000m…


Mountaineering Boots for Peaks Above 8000m – Triple Boots (also required for Annapurna IV at 7526m)
The Ultimate protection for the world’s coldest and highest destinations. The triple boot consists of an insulated inner boot of the highest quality, an outer boot and an insulated gaiter that extends to just below the knee. The sole unit is made of a softer Vibram compound which has exceptionally good thermal properties reducing the transfer of cold from the ground into your foot. Generally, it is assumed you would be wearing crampons that would protect the relatively soft sole from wear! Unfortunately, on stony mountains like Aconcagua, wear will occur but that is the trade-off. The La Sportiva Olympus Mons Cube S and the older Scarpa Phantom 8000 (featured) have the more wear resistant sole units. The La Sportiva Olympus Mons Cube S has the added advantage of a BOA system that has replaced traditional lacing making adjustment at altitude far easier, but at a premium price! The Millet Everest GTX still remains the most popular extreme altitude boot.
There are no specific women’s fit 8000 metre boots.
OK, so those are the main choices you have for quality High Altitude boots and it is all then down to the fit. If you want to try them all on under one roof in one day then the only place in the UK or probably worldwide is Adventure Peaks. We charge an upfront fee of £25 (double boots) £30 (triple boots) for the service which we will deduct if you purchase. We are open 7 days a week, you will need to allow at least a couple of hours for your visit and we close at 5.30pm.
What if I don’t live in the UK or haven’t got time to travel North (just 2hrs 40 from London on the West coast line)? Simply e-mail us an outline of your foot, (see our how to measure your foot guide below) with a physical measurement added from toe to heel to enable us to ensure no scaling has occurred in printing and we will send you what we think will fit for you to try at home (normally we are 95% accurate!) If they don’t fit, you may return them as long as they have not been worn outside.


Boot Fit Guide
ORDER YOUR BOOTS – follow these procedures and we normally get your boot size correct
For this you will need the following:
- Your socks you wear with mountaineering boots including any liner socks.
- A plain A4 piece of paper
- A fine tipped pen
- A 30cm ruler
- Standing on a hard surface and not carpet is the best method
- Your mobile phone or a scanner to upload the photos.
What to do next (images below correspond to each number point)
- Find your mountaineering socks. If you wear liner socks pop these on first.
- Then add your thicker mountaineering socks.
- Stand on a plain piece of A4 paper (standing up is best as it means your foot is fully weighted). If you know one foot is bigger than the other choose this foot.
- Draw around your foot with a fine tip pen. If someone you live with can do this then it may be easier and more accurate.
- Get the ruler and measure the longest and widest parts of your foot – adding dimensions in millimetres is the most accurate way but centimetres will do.
- Take a photo of the outline showing the dimensions whilst holding your phone level over the image or scan this on to your computer.
- Email this through to us at dave@adventurepeaks.com.
Now see the numbered points on the following pages which correspond to each of the points above…

1. Find your mountaineering socks. If you wear liner socks pop these on first.

2. Then add your thicker mountaineering socks.

3. Stand on a plain piece of A4 paper (standing up is best as it means your foot is fully weighted). If you know one foot is bigger than the other choose this foot.

4. Draw around your foot with a fine tip pen. If someone you live with can do this then it may be easier and more accurate.

5. Get the ruler and measure the longest and widest part of your foot – adding dimensions in millimetres is the most accurate way but centimetres will do.


6. Take a photo of the outline showing the dimensions whilst holding your phone level over the image or scan this on to your computer. The dimensions are important as we use them to allow for any scaling inaccuracies in printing
These boots look a bit higher tech than the one’s Dave used to wear when I first knew him!